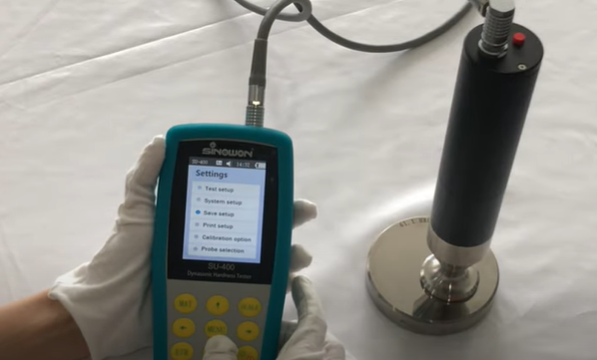
The standard hardness block with UCI is just used to verify it works well and accurately for the hardness block. When we test the block of with UCI, it always tested accurately. But, when we test our specimen, it is always wrong (higher or lower). If we want to get the result accurately and reliably, how can we calibrate it?
1. Firstly,use workpiece(specimen) to make a standard sample, then to verify the standard sample by a standard (Rockwell, Vickers or Brinell) hardness tester by a third-party calibration laboratory. If possible, make a sample with high uniformity and verify by a high-level laboratory. If not, take a compromise for the standard sample, that is, use a same-material workpiece to verify the true hardness value by benchtop hardness tester, if the testing result is acceptable by , then use the workpiece to calibrate the UCI.
If you want to test the different workpiece, and the material is different, you must use the same material workpiece to calibrate it again. In our UCI SU-300, it allows to save 20-group calibration data inside it. You can recall it after calibration.
2. If we have already calibrated it as the steps, the tested result is still not among the tolerance of hardness range, what can we do for it?Firstly, to be sure the calibration is correctly. If the calibration has no any problem, please check as follows:
A.Maybe it has been broken about the UCI, so we should use standard block to verify it, when verify it, use the default calibrated data to test it. If it is not correct, the UCI is broken. If the repeatability is good, there will be another two-reason.
B.Maybe it has been mixed about the material:
The manufacturers have used different material to produce same workpieces. Different material has different Young’s modulus, it will make the final tested value is different with your designed target.
C. Maybe it has been wrong about the heat-treatment. If the heat-treatment has not been done correctly, it will make the tested value is different with our designed target too.
3. How can we identify the problem of B and C?
After verifying it is working well about UCI, it is still not ideal about the tested value, please take the workpiece to verify by the benchtop hardness tester. If the tested hardness value is ideal with designed value, it is the B-problem about material mix, please use a spectrometer to verify it. If the tested hardness value is not ideal with designed value, it is the C-problem about wrong heat-treatment. However, it will be terrible about B and C happen simultaneously.
Here is the website that may help you to calibrate UCI hardness tester: https://www.youtube.com/watch?v=o3GyBWiKsO0
Tags: 2d measure machine, Hardness Measurement Solution, máy do 2d, máy do cmm, máy đo 3d, Sinowon, vision measuring machine

